An SSL certificate is a way to show users of your site that you’ve taken steps to make sure their personal information is safe. Increasingly, visitors are becoming reluctant to visit websites without them because of warnings from their browsers that a site may be unsafe.
Fortunately, setting up your domain with an SSL certificate is quick, easy and completely free.
Why do you need to secure your site?
For many reasons, such as the increasing amount of data stored online and the rise of online shopping, it’s become necessary to create a more secure way to transfer sensitive information around the web, such as credit card details or identifiable personal information.
How can I tell if a site is already secure?
You may recognize web addresses that start like this:
http://www.example.comThe http part stands for Hypertext Transfer Protocol, and for a long time, it’s been the standard way for computers transfer information to/from a server (the physical place in the world where the website in question is hosted).
Now, many websites will use Secure Hypertext Transfer Protocol, or https as in this example:
https://www.example.comThis lets you know a site has been verified by an independent authority and is who it claims to be. Even if you don’t see the https in your browser, you may see a green tick or a lock next to the URL letting you know the site you’re on is using a secure connection.
You can achieve this for your site too by installing a secure layer on your site called a Secure Sockets Layer or more commonly known as SSL certificate.
What is an SSL Certificate?
Essentially, an SSL is a security upgrade for your site. Once your site is verified by a “Certificate Authority” and issued with an SSL certificate, any computer around the world is able to create a secure connection with your server which no one else can intercept.
An SSL is a bit like having a “Blue Tick” on Twitter- it means your site has been verified by a third party.
There are several types of SSL certificates available, but if you don’t intend to store highly sensitive information like financial details or medical records, you can just enable the basic, free SSL certificate available with your hosting account through LetsEncrypt.
How to add an SSL certificate on your site
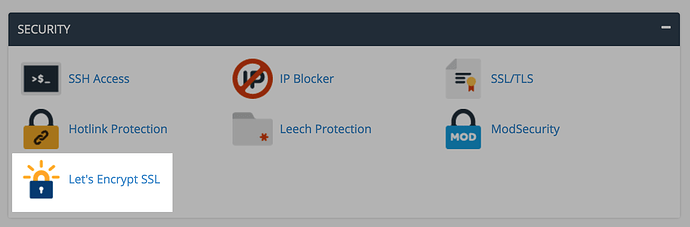
To get started navigate to your cPanel account and click the Let’s Encrypt icon located under the Security section.
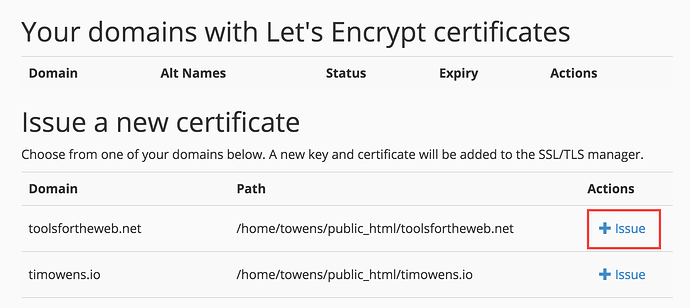
The interface will list all of your domains with those secured with a Let’s Encrypt certificate at the top. To install a new certificate for a domain click the Issue button next to the domain name.
If you would like to use the same certificate for subdomains, like www, check the box next to each one that should be secured.
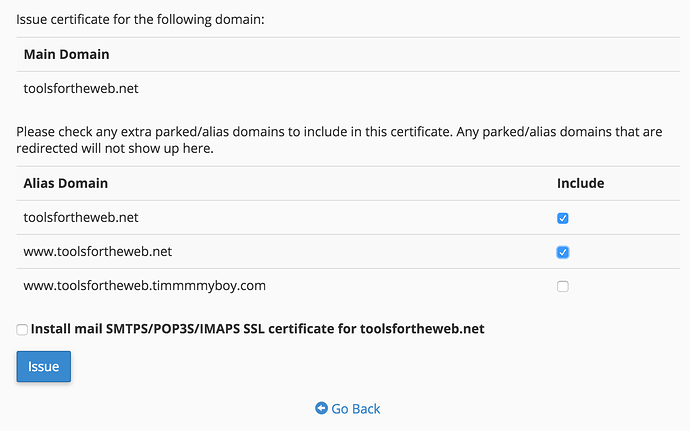
Once you’re ready to go, click the Issue button at the bottom of the page. If successful, the domain will be secured with a free TLS SSL certificate provided by Let’s Encrypt.
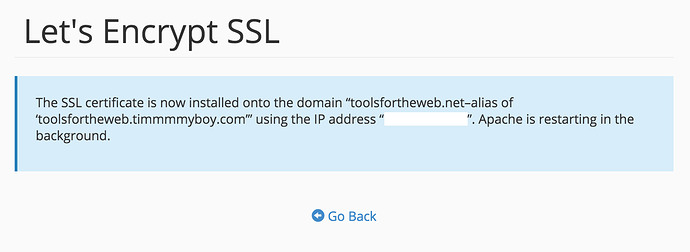
The process is now complete, but it may take 30 minutes or so for the changes to take effect. After this time, visit your site in a browser and look for either the https: in the URL or a secured site symbol (such as a lock icon or a green tick) to the left of the URL.
Forcing browsers to use HTTPS
It’s worth noting that installing a certificate only provides the option to load over SSL, but doesn’t force it on the server. To force HTTPS, do the following:
You will want to first navigate to cPanel and open the Domains page:
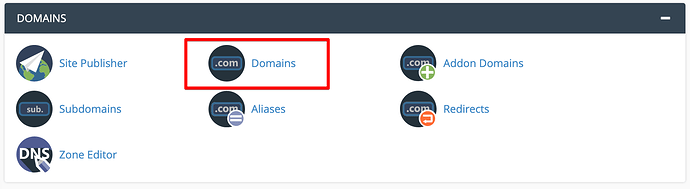
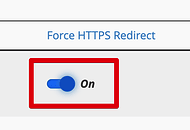
You will see a list of your domains with a column titled “Force HTTPS Redirect” where you can toggle the setting:
And that’s it! But if you notice that your site is still not always redirecting to the green lock that indicates a secure site, you may want to install a plugin like SSL Insecure Content Fixer which, when used in combination with the above, will make sure that all images, CSS, and site scripts are running over SSL.